
Understanding the Importance of Torsion Springs
Torsion springs play a crucial role in the functioning of a garage door. These tightly wound metal coils provide the necessary force to lift and lower the heavy garage door smoothly. If you are looking to install a single torsion spring on your garage door, this article will guide you through the process step by step.
Gather the Required Tools and Materials
Before you begin the installation, make sure you have the necessary tools and materials. You will need a winding bar, a tape measure, a socket wrench set, safety glasses, gloves, and the replacement torsion spring. It's essential to have the correct size and type of spring specific to your garage door model.
Ensure Safety First of Torsion Springs
Prioritize your safety by wearing protective glasses and gloves throughout the installation process. Garage door springs are under high tension and can cause serious injury if mishandled. If you are not confident in your abilities, it is always recommended to seek professional assistance.
Release Tension from the Existing Spring
Before removing or installing a torsion spring, you must release the tension from the existing spring. This step is crucial to prevent any accidents or injuries. Use the winding bars to unwind the tension from the spring until it is fully relaxed.
Measure and Prepare the New Spring
Using a tape measure, carefully measure the length of the old spring to ensure you purchase the correct replacement. Additionally, check the wire size and wind direction of the old spring to match it with the new one. Prepare the new spring by inserting it onto the torsion tube.
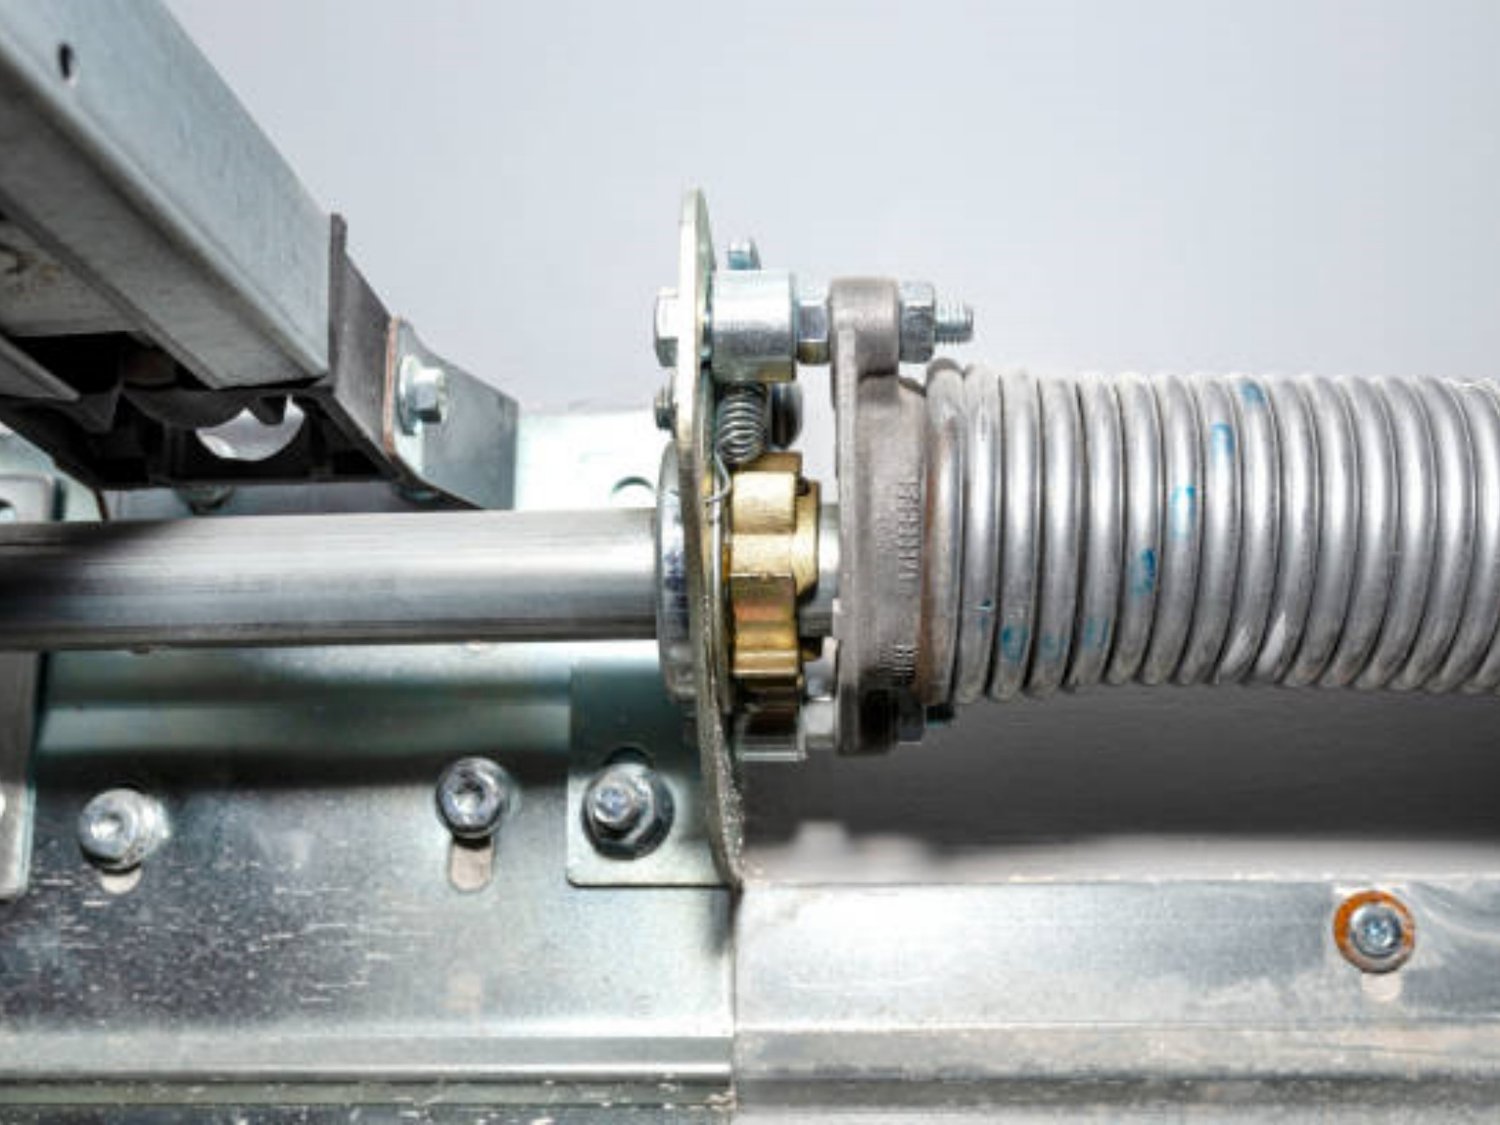
Install the New Torsion Spring
With the help of a socket wrench, secure the stationary cone on one end of the torsion tube. Slide the torsion spring onto the tube and ensure it aligns properly. Attach the winding cone on the other end of the tube and tighten it securely. Make sure to follow the manufacturer's instructions for your specific torsion spring model.
Wind the Torsion Spring
Using the winding bars, carefully wind the torsion spring by inserting the bars into the winding cone holes. Apply steady pressure to wind the spring according to the number of turns recommended by the manufacturer. This step requires caution and precision, as the spring will be under tension.
Test the Garage Door of Torsion Springs
Once the torsion spring is properly wound, test the functionality of your garage door. Slowly raise and lower the door several times to ensure smooth operation. If the door feels unbalanced or does not operate properly, it may be necessary to make adjustments or seek professional assistance.
Maintain Regular Inspection and Lubrication
After installing the single torsion spring, it is crucial to perform regular inspections and lubrication. Check for any signs of wear or damage, such as frayed cables or rusty springs. Apply a silicone-based lubricant to the springs, hinges, and rollers to ensure they operate smoothly and quietly.
Consider Professional Assistance of Torsion Springs
While installing a single torsion spring on a garage door can be done by a skilled DIY enthusiast, it may be a complex task for someone without experience. If you feel unsure or uncomfortable during any part of the installation process, it is recommended to seek professional assistance. Safety should always be the top priority when working with garage door springs.